Save time and money by meal prepping sandwiches for work or school lunch. Easy tips and tricks to keep them fresh all week without the bread getting soggy.
Some people might not understand why you’d want to meal prep sandwiches, but as they say “the girls who get it, get it”.
For those that are curious, there are many reasons someone might want to make sandwiches ahead of time for lunch. Maybe they work long hours at a physically demanding job and don’t have the time or energy to do it every night when they get home.
Perhaps they’re a single parent and need to prep their child’s lunches at the beginning of the week because that’s the only time available.
Regardless of your reason, I’m going to show you how you can meal prep your sandwiches and keep them fresh! Because absolutely no one wants to open their lunchbox to find a soggy sandwich.
Ingredients
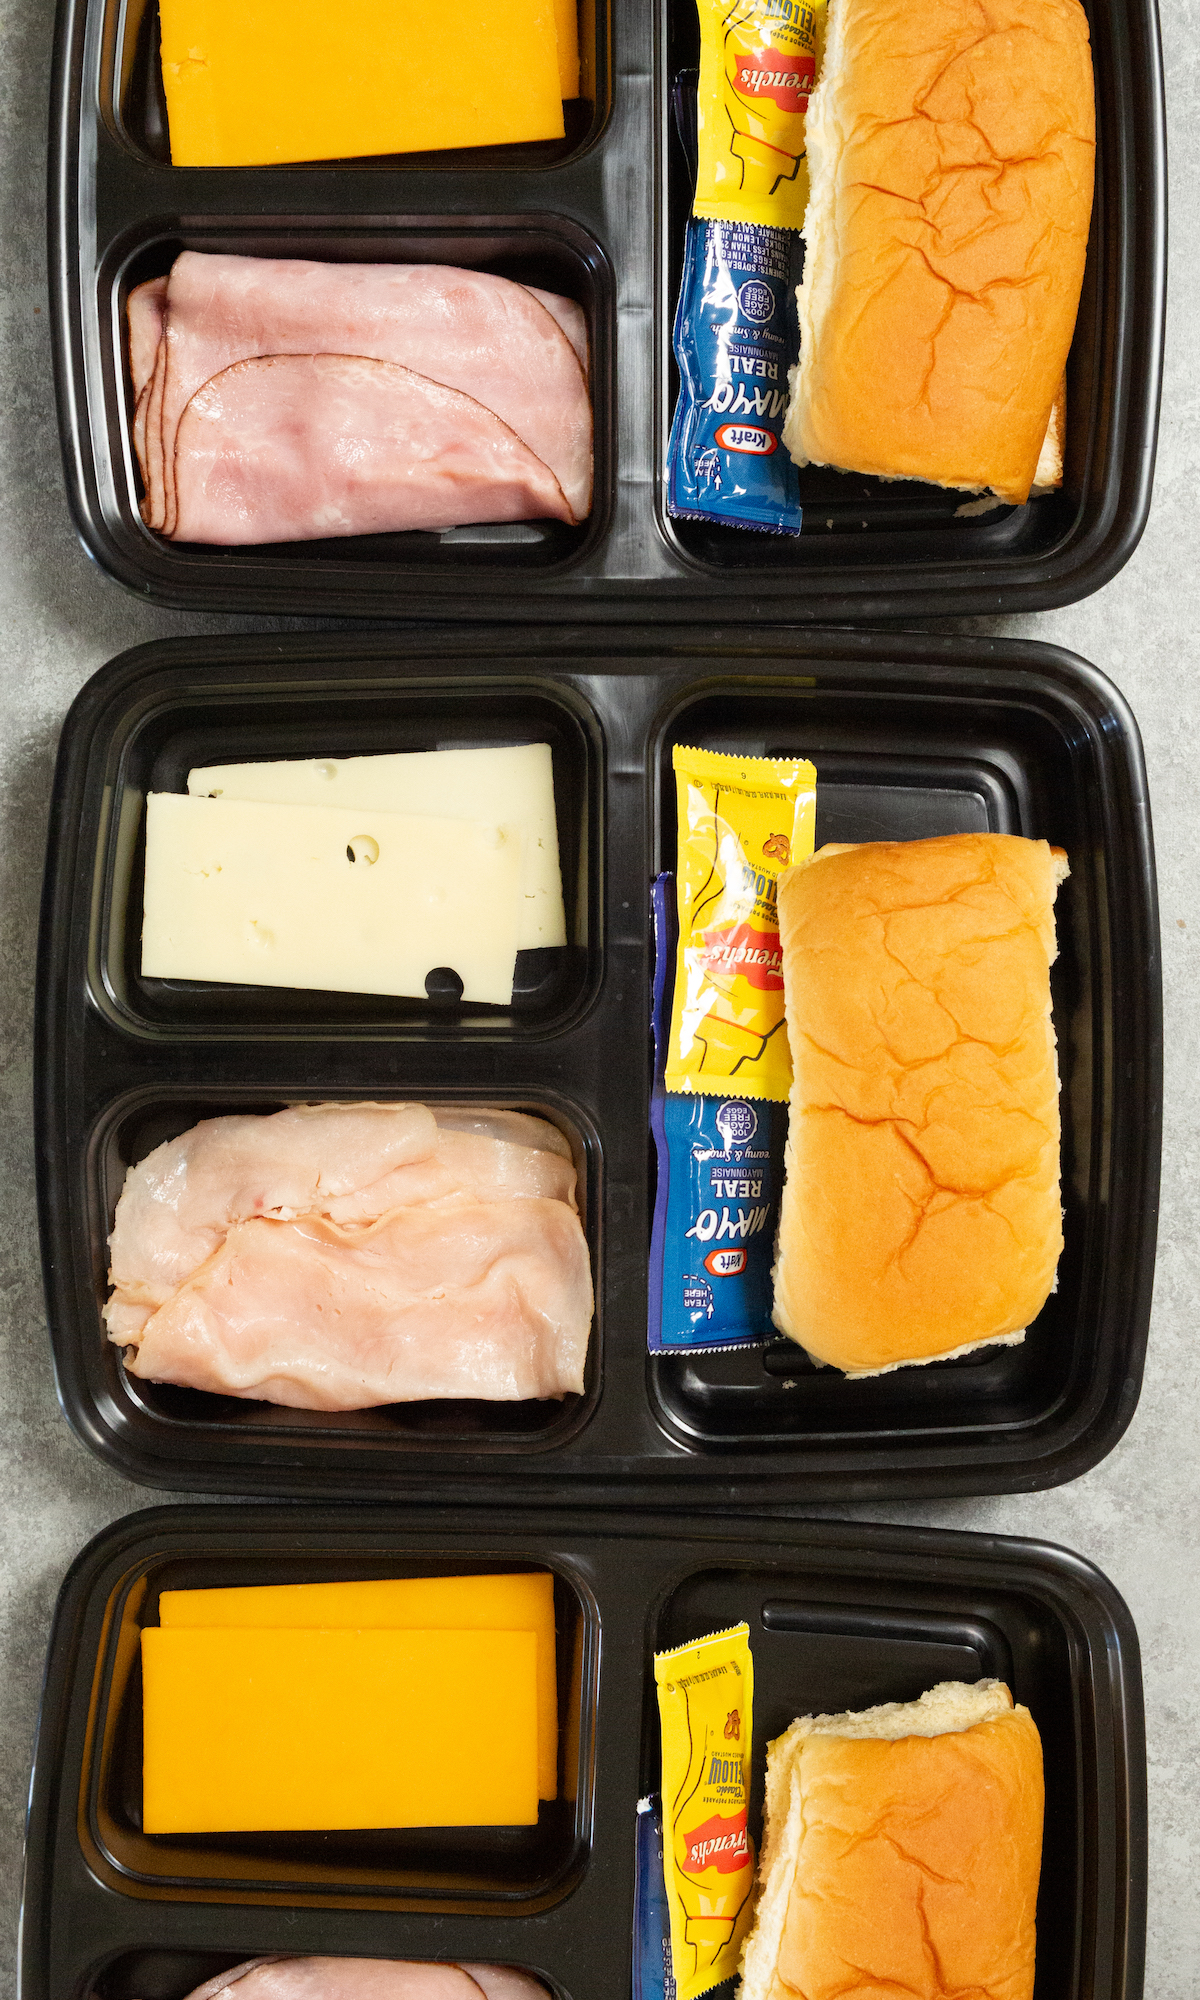
- Bread – Any type of bread you’d prefer is fine. I used mini Hawaiian roll subs in these photos, but I often used sliced wheat bread. I cut it in half to fit in my containers.
- Meat – There are no limitations here. I most often use oven-roasted turkey and ham.
- Cheese – Swiss or cheddar are my favorites, but any sliced cheese works.
- Vegetables – You can add lettuce, tomato, pickles, cucumbers, bell peppers, etc.
- Condiments – Mustard, Mayo, Hot Sauce. Can pack in small containers or purchase packets.
Tips
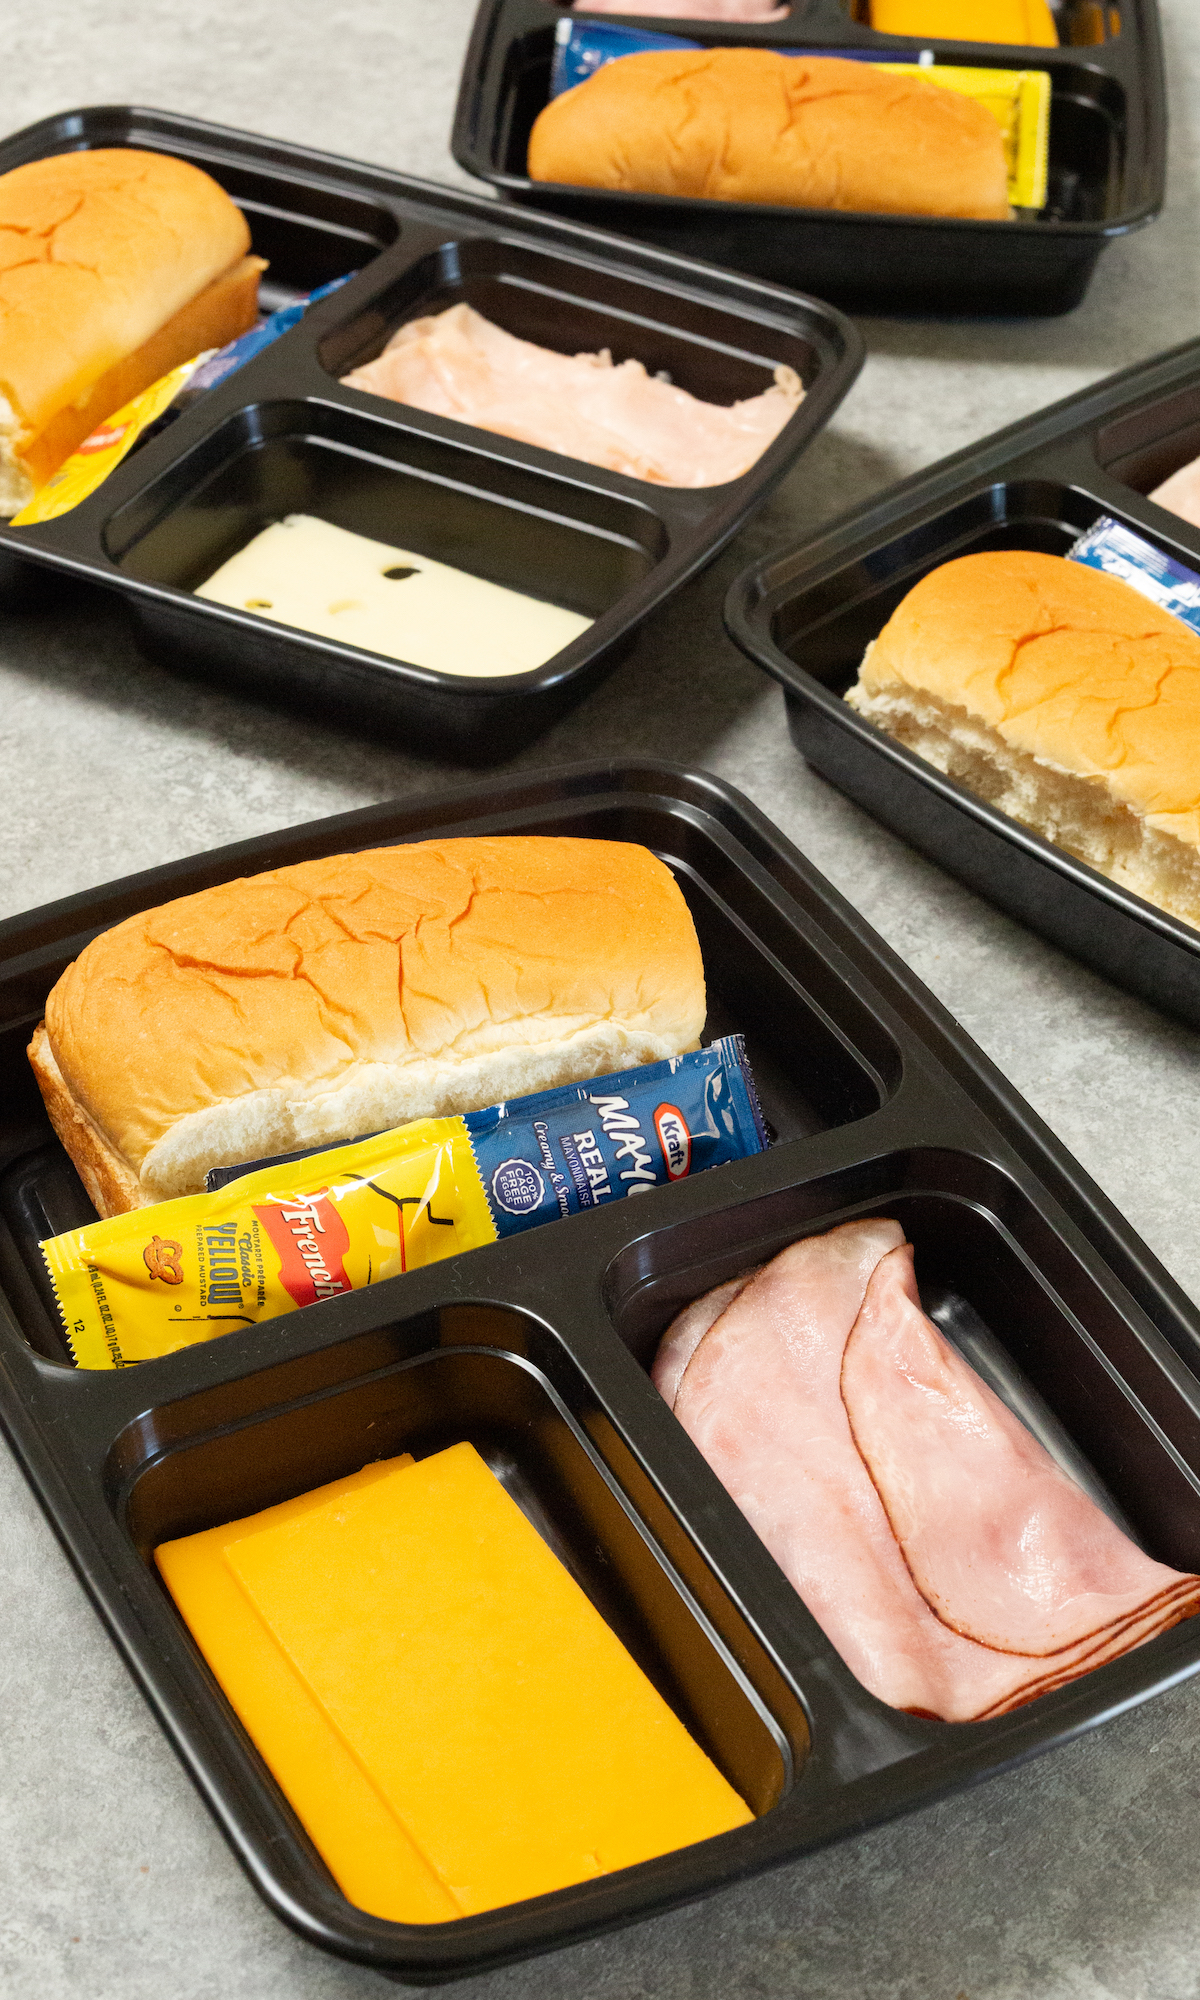
- Always prep ingredients separately with nothing touching the bread. This is how we will keep the bread from getting soggy. I recommend using a three compartment meal prep container.
- Packing lettuce? Whether it’s shredded or whole leaf, cut a paper towel and put it in the bottom of the section of the container you put it in. This will help keep it fresh for a few days.
- Get creative! Sandwiches don’t have to just feature deli meats. You can pack tuna or egg salad as fillings. How about a veggie sandwich?
This post contains affiliate links (when you buy we make a little $ at no cost to you). See our disclosure for more information.
More Lunch Meal Prep Ideas
PrintMeal Prep Sandwiches
Prepare sandwiches in advance for a budget-friendly work or school lunch.
- Prep Time: 5 minutes
- Total Time: 5 minutes
- Yield: 4
- Category: Lunch
- Cuisine: American
Ingredients
2 oz Sliced Deli Meat
4 Slices of Cheese
4 Mini Sub Rolls or sliced bread
Condiments
Instructions
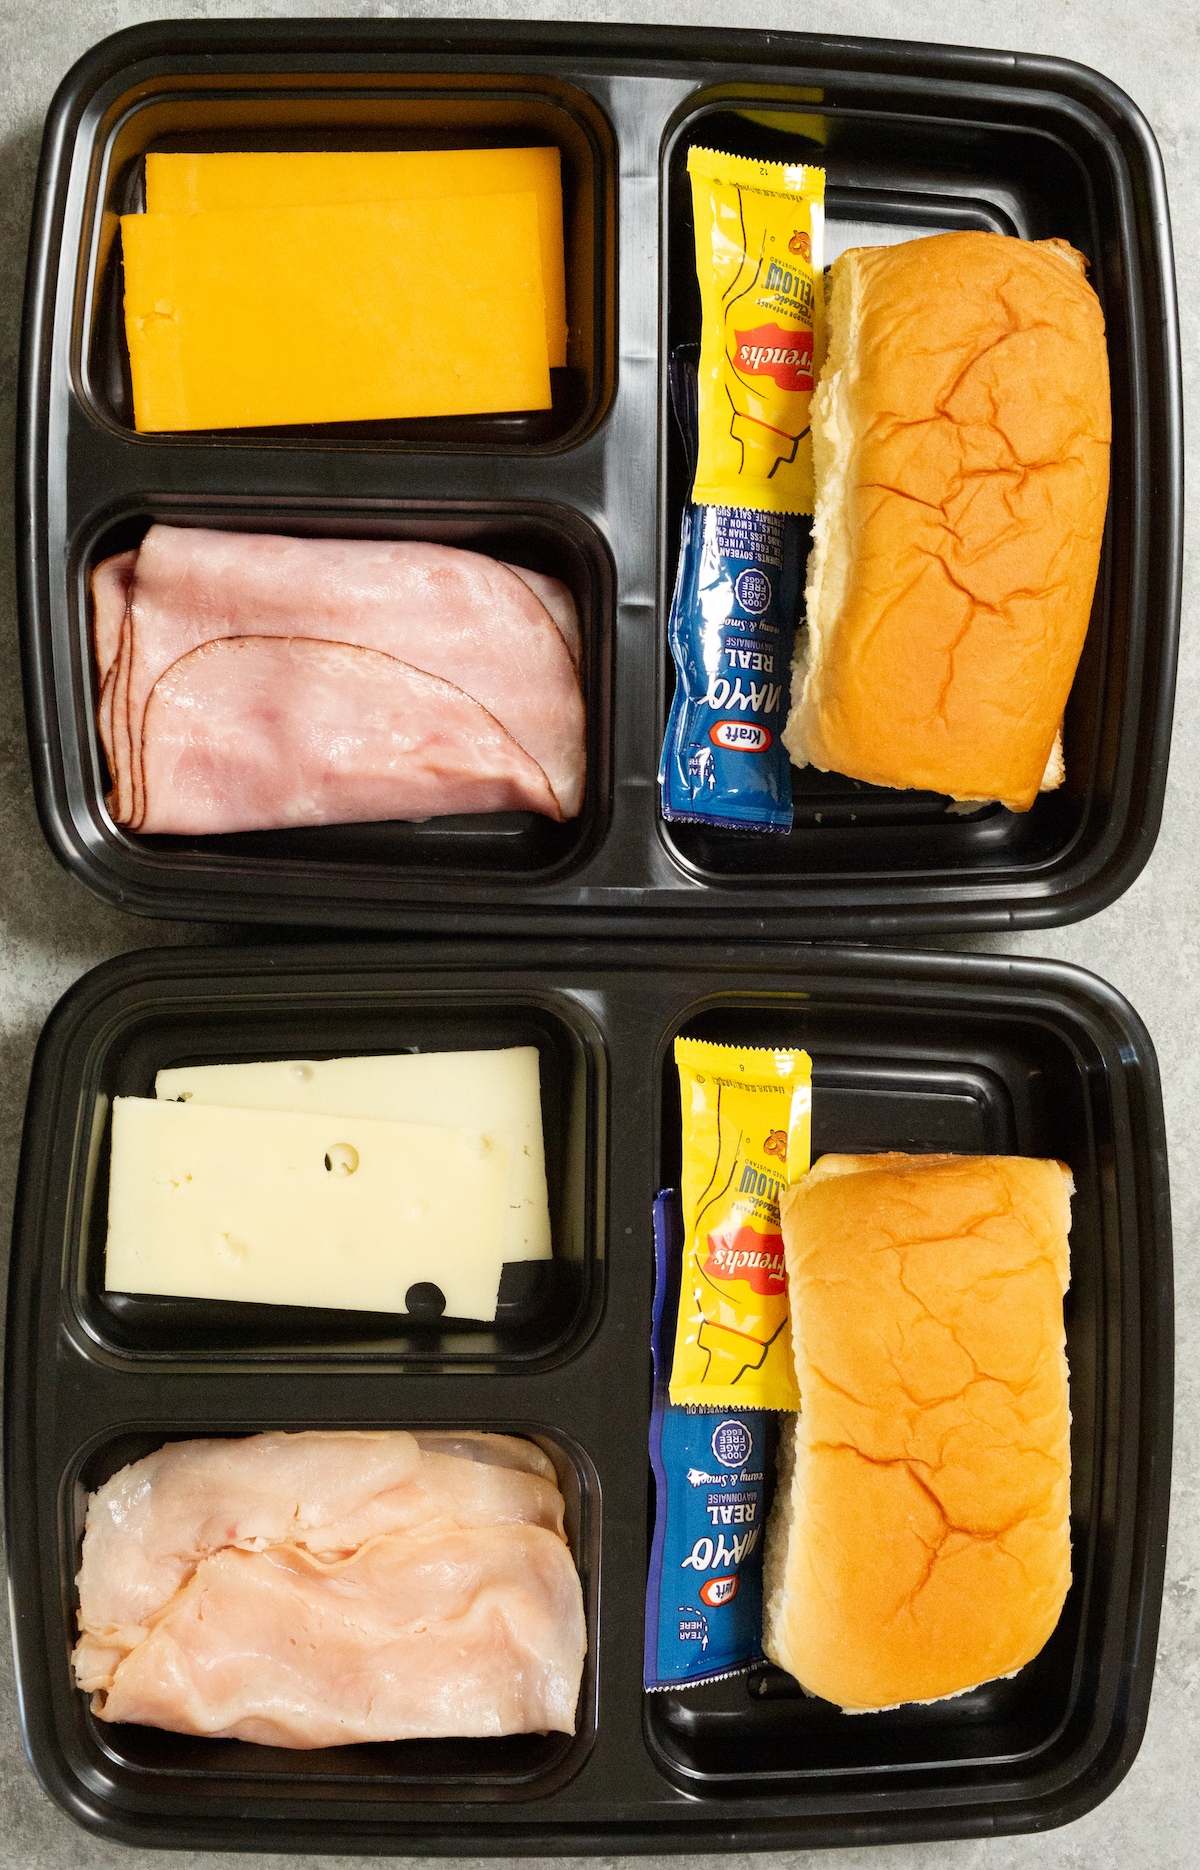
Prepare four three-compartment meal prep containers.
Add sliced meat to one compartment, sliced cheese to another, and the bread and condiments in the last compartment.
Seal with lids and store in the refrigerator for up to 4 days.
Keywords: meal prep with sandwiches, lunch you can eat cold